

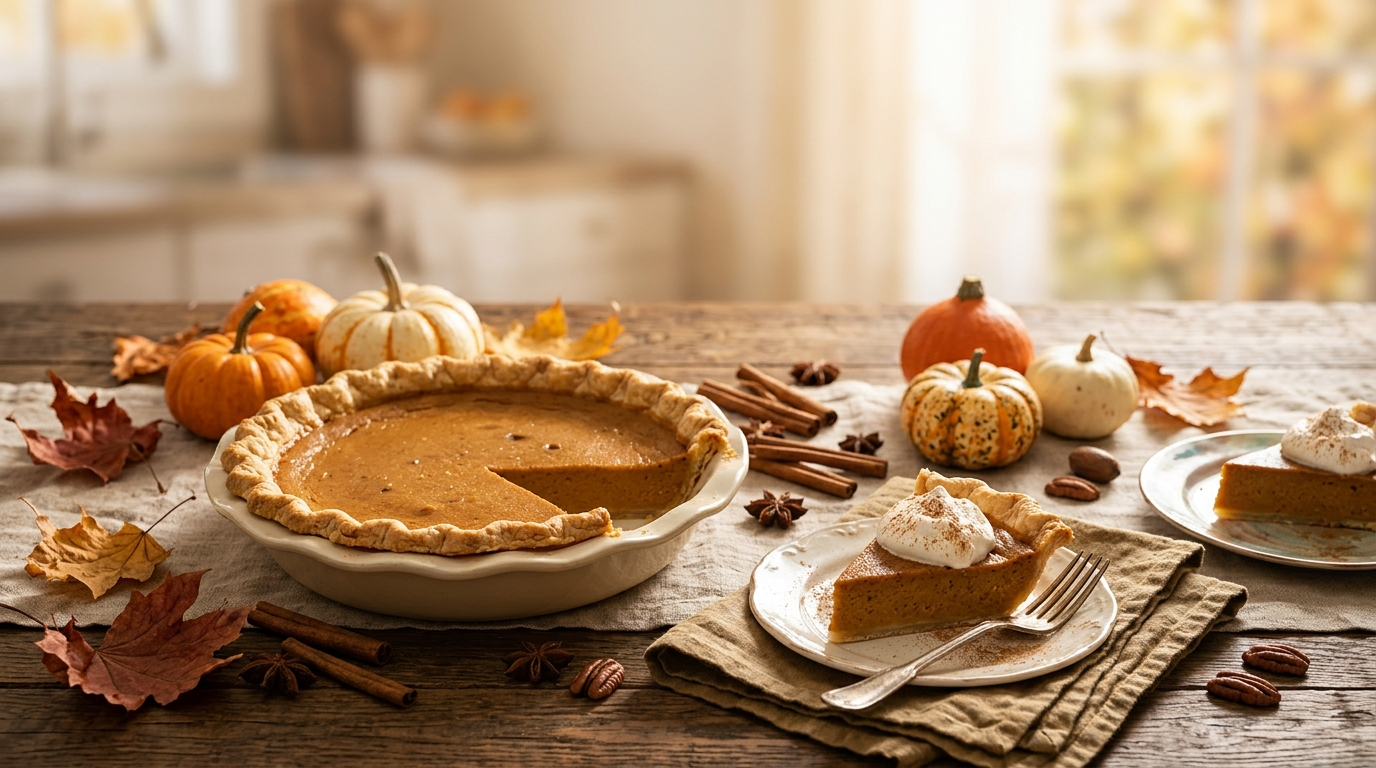
Every Thanksgiving, I seem to reach the same moment: the kitchen is finally quiet, the dishes are stacked higher than they should be, and someone wanders in asking, “Is there any pie left?”
That question is one of the reasons I love this classic Thanksgiving pumpkin pie. It feels familiar without being boring, and it gives the whole meal that cozy finish everyone seems to expect in November.
I’ve made this pie enough times to learn a few things the hard way. The first time, I pulled it from the oven too early because the center still looked a little wobbly. Another year, I rushed the crust and ended up with a soggy bottom. Now I know what to look for, and the pie turns out much more reliably.
The filling comes together in one bowl, the spices make the kitchen smell incredible, and you can prepare parts of it ahead of time. If you’re looking for a traditional fall dessert that looks special on the Thanksgiving table without demanding an entire afternoon of work, this one earns its place.
Why You’ll Love This Recipe

- Classic Thanksgiving flavor: Pumpkin, cinnamon, ginger, nutmeg, and cloves create that unmistakable fall flavor.
- Simple filling: You only need one bowl and a whisk for the filling.
- Make-ahead friendly: The pie needs time to cool and chill, so making it ahead actually works in your favor.
- Great for a crowd: One 9-inch pie gives you several satisfying slices after a big holiday meal.
- No fancy decorating required: A little whipped cream on top makes it look festive with almost no extra effort.
Ingredients
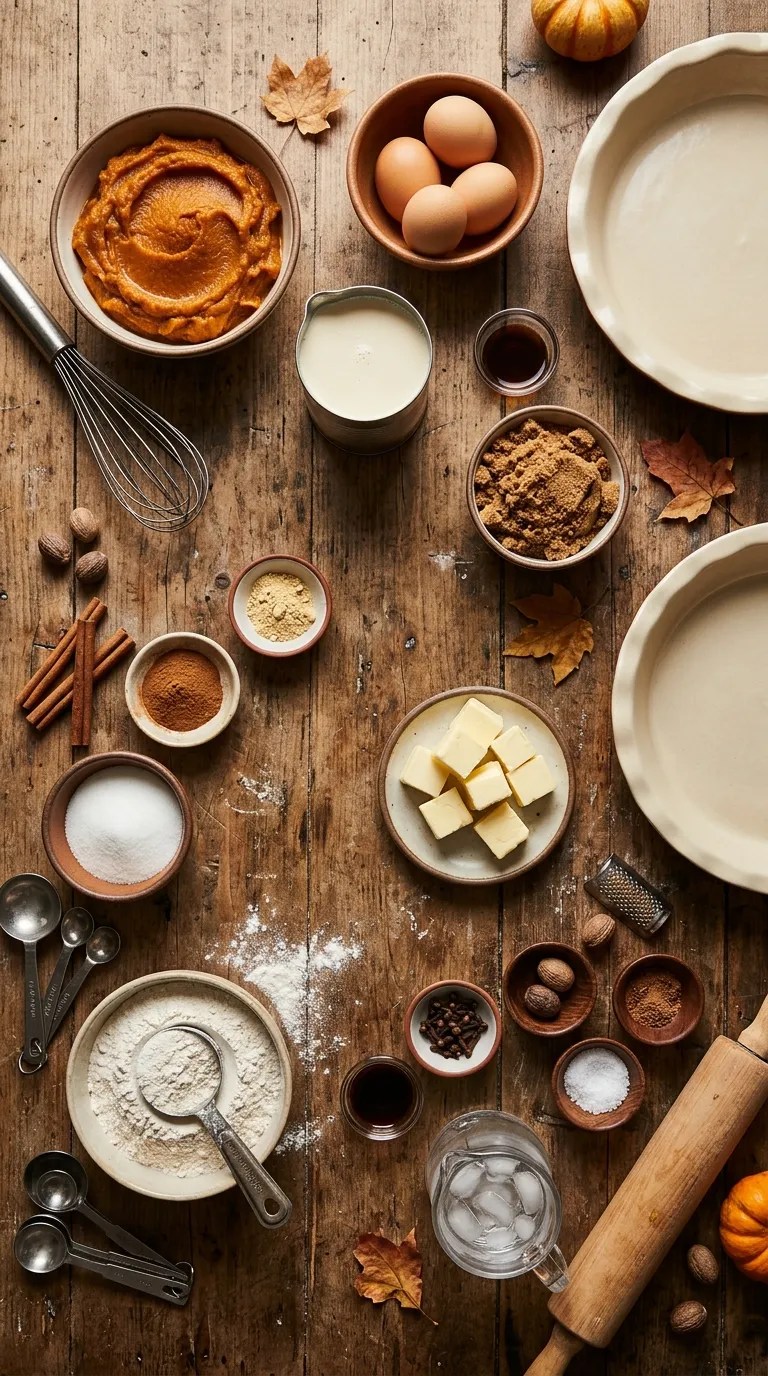
For the Pie Crust
- 1 1/4 cups all-purpose flour
- 1/2 teaspoon salt
- 1 teaspoon granulated sugar
- 1/2 cup unsalted butter, cold and cut into small cubes
- 3 to 4 tablespoons ice water
You can use a good-quality refrigerated pie crust if you’re short on time. I’ve done this myself during busy holiday cooking days, and nobody at the table has ever complained.
For the Pumpkin Filling
- 1 can (15 ounces) pure pumpkin puree
- 3/4 cup packed light brown sugar
- 1/2 cup granulated sugar
- 2 large eggs
- 1 large egg yolk
- 1 cup evaporated milk
- 1 teaspoon ground cinnamon
- 1/2 teaspoon ground ginger
- 1/4 teaspoon ground nutmeg
- 1/8 teaspoon ground cloves
- 1/2 teaspoon salt
- 1 teaspoon vanilla extract
Use pure pumpkin puree, not canned pumpkin pie filling. Pumpkin pie filling already contains sugar and spices, so substituting it will change the recipe considerably.
For a slightly milder spice flavor, reduce the cloves. If you love a more pronounced ginger note, add another small pinch of ground ginger.
For Serving
- Whipped cream, homemade or store-bought
- A light dusting of cinnamon, optional
- Chopped toasted pecans, optional
Step-by-Step Instructions
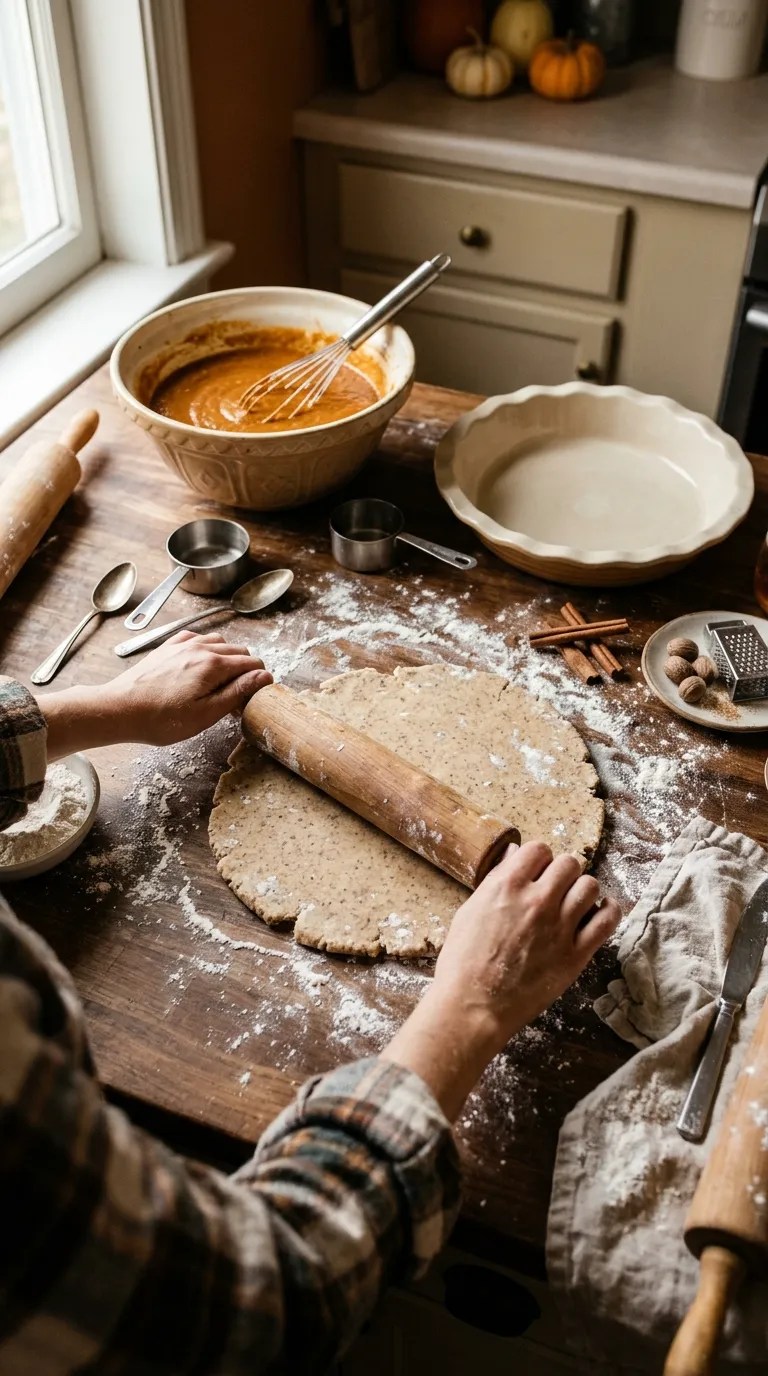
1. Make the Pie Crust — About 15 Minutes
Start with the crust because it needs a little time to chill.
Whisk the flour, salt, and sugar together in a medium bowl. Add the cold butter and work it into the flour using a pastry cutter or your fingertips.
Stop when the mixture looks like coarse crumbs with a few pea-sized pieces of butter still visible. Those little butter pieces help create a tender, flaky crust.
Drizzle in 3 tablespoons of ice water and gently mix. Add the final tablespoon only if the dough still looks dry and refuses to hold together.
Don’t knead the dough like bread. Press it together just until it forms a rough ball.
Flatten it into a disk, wrap it, and refrigerate it for at least 30 minutes.
2. Roll Out the Dough — About 10 Minutes
Lightly flour your work surface and rolling pin.
Roll the chilled dough from the center outward, turning it occasionally so it doesn’t stick. Aim for a circle about 12 inches across.
The dough should be thin enough to bake into a tender crust but sturdy enough to lift into the pie plate without tearing.
Carefully transfer it to a 9-inch pie dish. Gently press the dough into the bottom and sides without stretching it.
Trim the excess around the edges, then tuck the edge underneath itself and crimp it with your fingers or a fork.
If the dough has become soft while you worked with it, place the prepared crust in the refrigerator for another 10 to 15 minutes.
3. Preheat the Oven — About 5 Minutes
Heat your oven to 425°F (220°C).
Place an oven rack in the lower-middle position. I prefer this position because it helps the bottom crust cook properly while keeping the pie far enough from the top heating element.
If your oven tends to run hot, an inexpensive oven thermometer can make a surprising difference during holiday baking.
4. Mix the Pumpkin Filling — About 5 Minutes
In a large bowl, whisk together the pumpkin puree, brown sugar, granulated sugar, eggs, and egg yolk.
Add the evaporated milk, cinnamon, ginger, nutmeg, cloves, salt, and vanilla.
Whisk until everything looks smooth and evenly combined.
Don’t worry if the filling seems quite loose. Pumpkin pie filling starts out much more liquid than you might expect and thickens as it bakes and cools.
5. Fill the Crust
Place the prepared crust on a sturdy baking sheet. This small step saves you from trying to carry a full, liquid-filled pie across the kitchen.
Pour the pumpkin filling into the crust.
Leave a little space near the top rather than filling it right to the rim. The filling will puff slightly as it bakes.
6. Bake the Pie — About 55 to 65 Minutes
Place the pie in the 425°F oven and bake for 15 minutes.
Then reduce the oven temperature to 350°F (175°C) without opening the oven door for more than necessary.
Continue baking for approximately 40 to 50 minutes.
Here’s the important part: don’t wait for the center to become completely firm.
The edges should look set, while the center should still have a gentle jiggle when you carefully move the pie. Think of the movement as a soft wobble rather than a slosh.
If the crust edges start becoming too dark, loosely cover them with strips of aluminum foil or use a pie crust shield.
7. Cool Completely — At Least 2 Hours
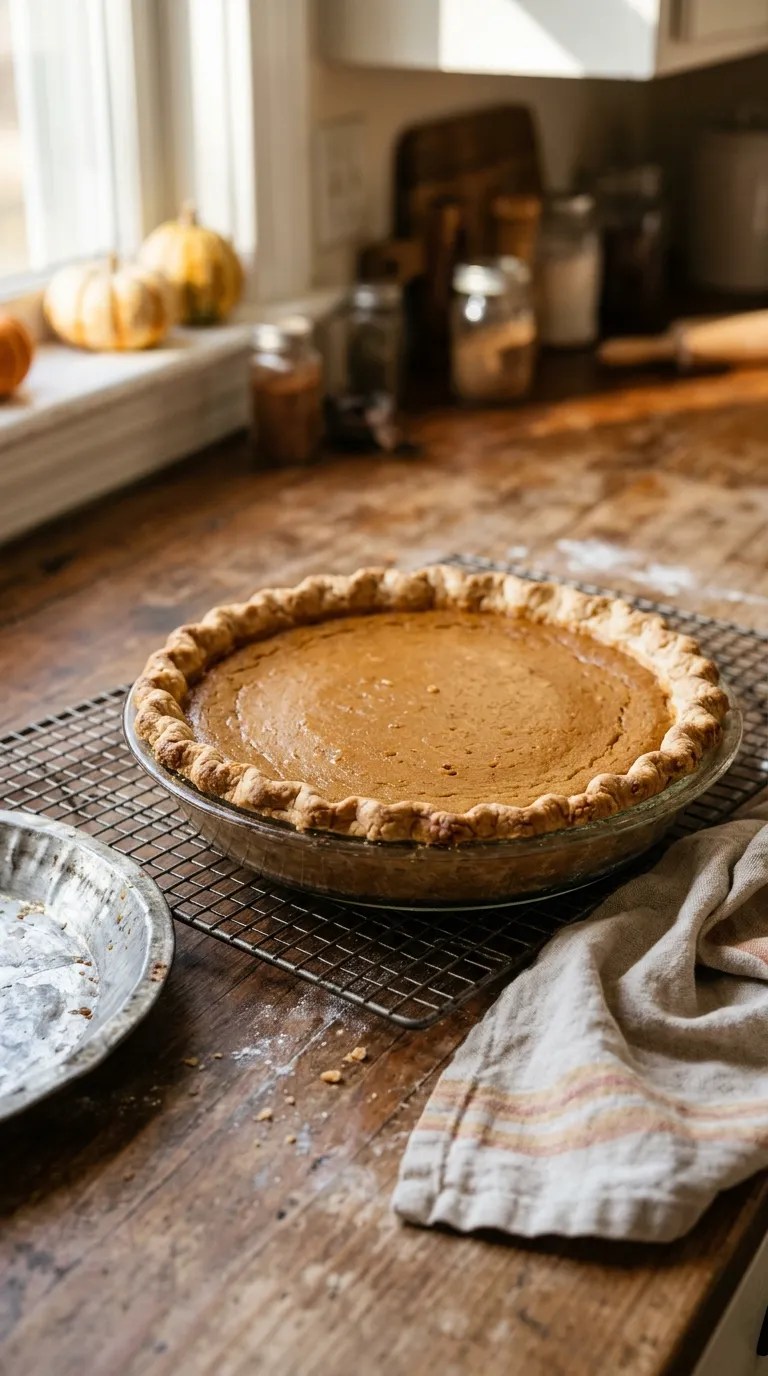
Remove the pie from the oven and place it on a cooling rack.
Let it cool completely before slicing.
This part tests my patience every single time, but it matters. The filling continues to set as it cools. If you cut into the pie while it’s still hot, the slices can look much softer than you intended.
For the cleanest slices, refrigerate the cooled pie for a few hours before serving.
8. Add the Finishing Touch
Just before serving, add a spoonful of whipped cream to each slice.
I like keeping the topping simple because the pumpkin filling already carries plenty of flavor. A tiny sprinkle of cinnamon or a few chopped toasted pecans adds a nice finishing touch without turning the dessert into something completely different.
Pro Tips & Tricks
Don’t Overwork the Pie Dough
The more you mix and knead the dough, the more gluten you develop. That can leave you with a tougher crust.
Handle it gently and stop as soon as it comes together.
Keep the Butter Cold
Cold butter gives the crust its best texture. If your kitchen feels warm, especially with several holiday dishes cooking at once, chill the dough again whenever it starts feeling soft or greasy.
Watch the Center, Not the Clock
Ovens vary, so use the baking time as a guide rather than a command.
A properly baked pumpkin pie should have set edges and a slightly jiggly center. The center will firm as the pie cools.
Protect the Crust Early
If you know your oven browns pie crust quickly, put a pie shield on the crust after the first 15 to 20 minutes.
Don’t wait until the crust already looks too dark. Once it burns, there’s not much you can do to reverse it.
Make It the Day Before
Thanksgiving cooking gets crowded quickly. Fortunately, pumpkin pie tastes excellent after spending several hours in the refrigerator.
Bake it the day before, let it cool completely, cover it, and refrigerate it. Add whipped cream shortly before serving.
Variations & Substitutions
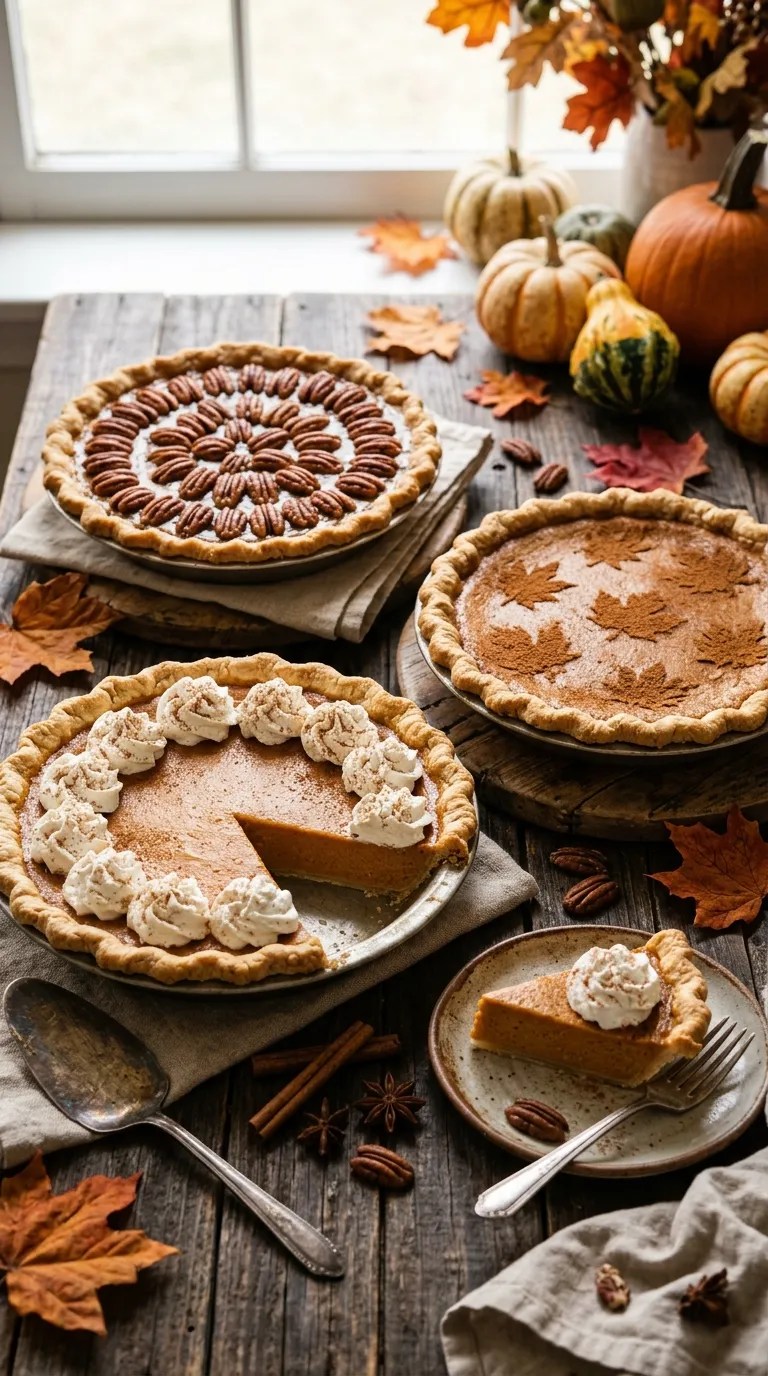
Easy Store-Bought Crust Version
When I make a large Thanksgiving dinner, I sometimes choose convenience over pride.
Use a refrigerated 9-inch pie crust instead of making pastry from scratch. Follow the same filling and baking instructions, and you’ll still get a warm, fragrant homemade-style dessert without adding another project to your holiday schedule.
Homemade Spice Blend
If you don’t have every individual spice available, you can use pumpkin pie spice.
For this recipe, start with about 2 teaspoons pumpkin pie spice, then taste the filling before adding it to the crust. Since different spice blends vary, you may want to add a little extra cinnamon or ginger.
Pecan Pumpkin Pie
For a little texture, scatter about 1/2 cup chopped toasted pecans over the cooled pie before serving.
I prefer adding them at the end rather than mixing them into the filling because they stay crisp and give each bite a pleasant contrast.
Gluten-Free Crust
For a gluten-free version, use a reliable gluten-free pie crust recipe or a prepared gluten-free crust designed for a 9-inch pie.
Keep the pumpkin filling the same, assuming all your individual ingredients carry the appropriate gluten-free labeling for your needs.
Serving Suggestions

This pie fits naturally into a Thanksgiving dinner, but you don’t have to save it for the holiday.
Serve it after a Sunday roast, bring it to a fall potluck, or make a smaller family dinner feel a little more festive with a homemade dessert.
For Thanksgiving, I like serving pumpkin pie alongside coffee or tea after the main meal. The warmth of the drink works beautifully with the cinnamon and nutmeg.
A scoop of vanilla ice cream makes the pie richer and colder, while whipped cream keeps the dessert lighter and more traditional.
If you’re serving several desserts, cut the slices slightly smaller. Pumpkin pie is filling after a big meal, and guests often appreciate having room to sample another dessert.
Related Recipes:
- Easy Pumpkin Dump Cake Recipe for Thanksgiving
- How to Make a Caramel Apple Crisp for Thanksgiving
- How to Make Pumpkin Cheesecake Bites for Thanksgiving
- Easy Pumpkin Crisp Bars for Thanksgiving
FAQ’s
Can I make Thanksgiving pumpkin pie ahead of time?
Absolutely. Pumpkin pie works particularly well as a make-ahead dessert.
Bake it up to one day before serving. Let it cool completely, cover it, and refrigerate it. Add whipped cream shortly before serving.
How should I store pumpkin pie?
Once the pie has cooled, cover it and refrigerate it.
Because the filling contains eggs and dairy, don’t leave the finished pie sitting at room temperature for an extended period. When serving it at a gathering, return leftovers to the refrigerator after dessert.
Can I freeze pumpkin pie?
Yes. Let the pie cool completely first, then wrap it securely in plastic wrap followed by a layer of aluminum foil.
Freeze it without whipped cream. Thaw it in the refrigerator before serving.
The crust may lose a little of its original crispness after freezing, but the pumpkin filling generally holds up well.
Why did my pumpkin pie crack?
A cracked surface often means the pie baked a little too long.
The center should still have a gentle wobble when you remove it from the oven. Remember that the residual heat continues cooking the filling as the pie cools.
A crack doesn’t ruin the dessert, either. A layer of whipped cream can cover it beautifully.
Why is my pumpkin pie watery?
A watery pie can result from underbaking, excess moisture, or cutting it before it has finished cooling.
Make sure you use pure pumpkin puree and follow the cooling time. If the filling still looks loose in the oven, give it more time while watching the crust carefully.
Can I use fresh pumpkin instead of canned pumpkin?
Yes, but the moisture level can vary considerably with fresh pumpkin.
For a reliable Thanksgiving pie, I prefer canned pure pumpkin because it gives me consistent results. If you use fresh pumpkin puree, make sure it has a thick, smooth consistency rather than a watery texture.
Final Thought
There’s something wonderfully old-fashioned about putting a pumpkin pie in the oven on a cool fall afternoon.
The spices fill the kitchen, the crust turns golden around the edges, and suddenly the house smells like Thanksgiving before anyone has even sat down for dinner.
This classic Thanksgiving pumpkin pie doesn’t need elaborate decorations or unusual ingredients. It just needs a little patience, especially while the pie cools.
If you make it, I hope you get that same moment I love: someone wandering into the kitchen, noticing the pie on the counter, and immediately asking when dessert starts.
Leave a Reply
You must be logged in to post a comment.