

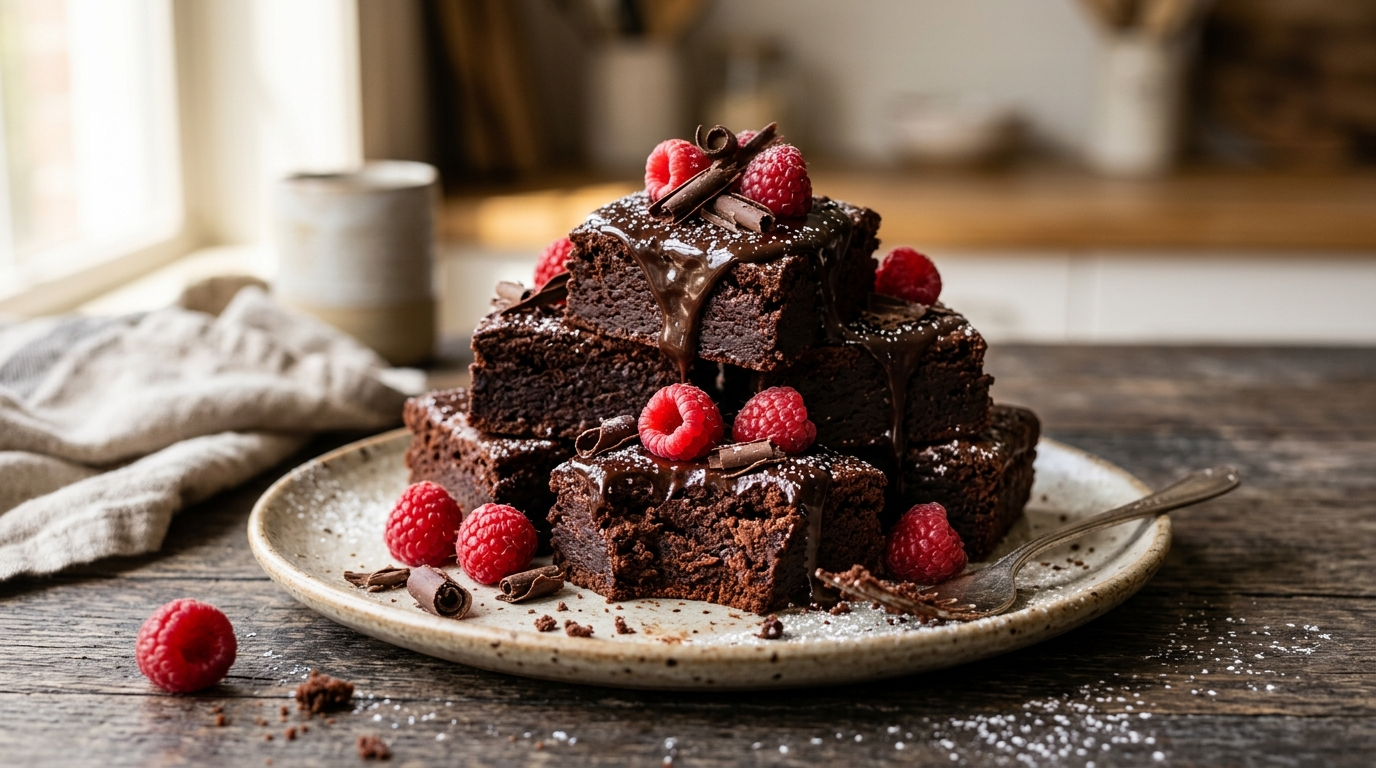
There’s a particular kind of evening when I want something chocolate, but I don’t want to turn the kitchen upside down to make it happen. I’ve had those nights more times than I can count: a last-minute dinner invitation, unexpected guests at the door, or simply a craving that refuses to wait until tomorrow.
That’s when this easy chocolate dessert comes to the rescue.
I started making it after one of those evenings when I had a nearly empty pantry, a little chocolate, some cream, and a few basic baking ingredients. I expected an ordinary dessert. Instead, I ended up with something rich, soft, chocolatey, and good enough to serve when company came over.
After making it again and again, I’ve learned that the best part isn’t just how simple it feels. It also gives you plenty of room to make it your own.
This version combines a tender chocolate base with a smooth, creamy chocolate topping. You don’t need fancy decorating skills, and you can prepare most of it ahead of time. I’ve served it for family dinners, birthdays, holiday gatherings, and those completely ordinary Tuesdays when chocolate sounds like the right answer.
Why You’ll Love This Recipe

- Simple ingredients: You can make it with familiar pantry and refrigerator staples.
- Beginner-friendly: The steps are straightforward, and I’ll point out what each stage should look like.
- Great for guests: It looks much more impressive than the amount of effort suggests.
- Easy to customize: Add berries, nuts, coffee, caramel, or a little extra chocolate.
- Make-ahead friendly: The dessert actually benefits from some chilling time, which makes entertaining easier.
Ingredients
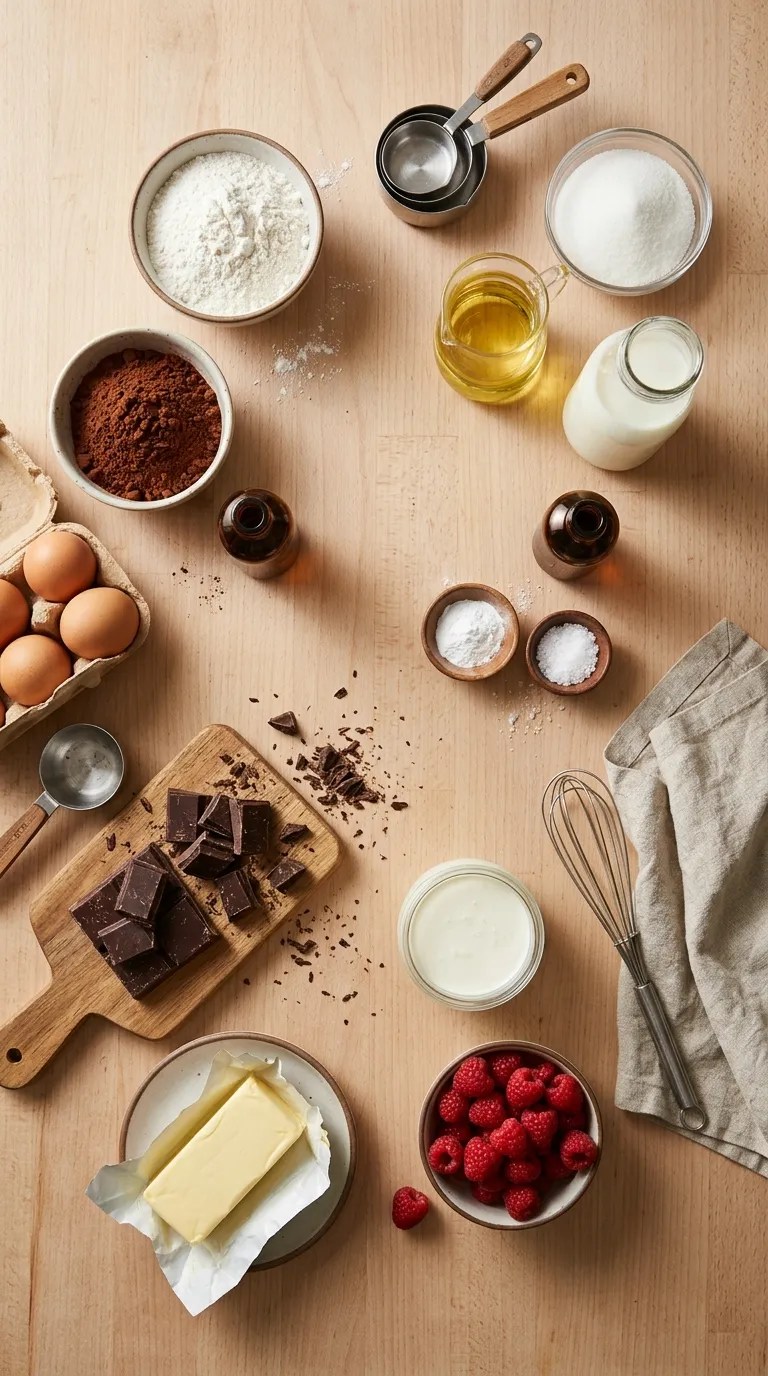
This recipe makes about 8 servings.
For the Chocolate Dessert Base
- 1 cup (125 g) all-purpose flour
- 1/2 cup (100 g) granulated sugar
- 1/3 cup (30 g) unsweetened cocoa powder
- 1/2 teaspoon baking powder
- 1/4 teaspoon salt
- 1 large egg
- 1/2 cup (120 ml) whole milk
- 1/3 cup (80 ml) neutral vegetable oil
- 1 teaspoon vanilla extract
- 1/2 cup (120 ml) hot water
For the Chocolate Topping
- 4 oz (115 g) semi-sweet or dark chocolate, finely chopped
- 1/2 cup (120 ml) heavy cream
- 1 tablespoon unsalted butter
- 1 tablespoon powdered sugar, optional
For Finishing
- Fresh strawberries or raspberries
- Chocolate shavings
- Chopped toasted nuts
- A light dusting of powdered sugar, optional
You don’t need to use every topping. I usually choose one or two and stop there. Too many toppings can cover up the lovely chocolate flavor.
For the chocolate, use a bar you genuinely enjoy eating. Chocolate chips work in a pinch, but chopped baking chocolate usually melts into a smoother topping.
If you only have Dutch-process cocoa powder, you can use it here, although the flavor and rise may differ slightly from the natural cocoa powder I usually keep in my cupboard.
Step-by-Step Instructions
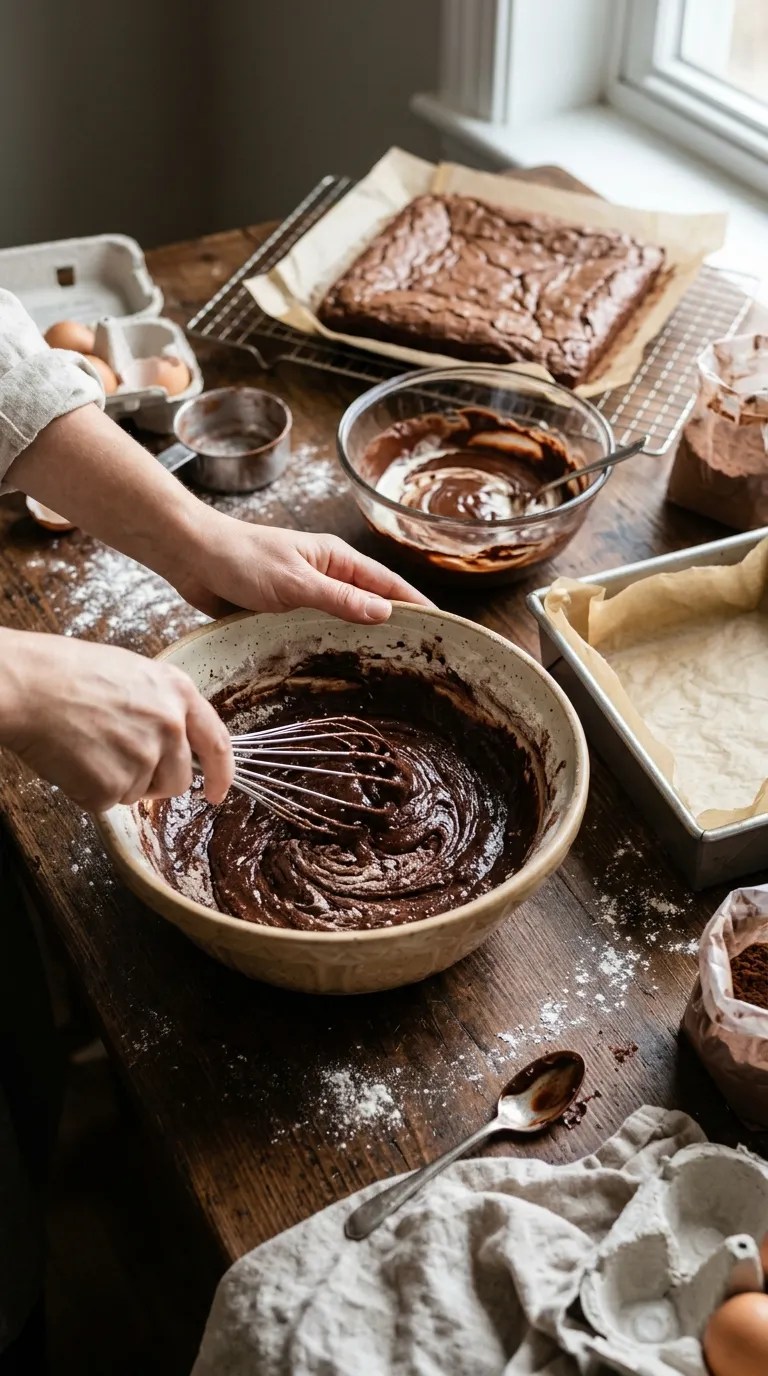
1. Prepare the Oven and Pan — 5 Minutes
Start by heating your oven to 350°F (175°C).
Grease an 8-inch (20 cm) square baking pan and line the bottom with parchment paper. Leave a little parchment hanging over two sides so you can lift the dessert out later.
I used to skip the parchment and regret it every time. The dessert still tasted great, but getting clean pieces out of the pan became unnecessarily annoying.
2. Mix the Dry Ingredients — 3 Minutes
Add the flour, sugar, cocoa powder, baking powder, and salt to a medium mixing bowl.
Whisk everything together until the cocoa looks evenly distributed and you no longer see little pockets of flour.
Take a moment here. Properly mixing the dry ingredients now saves you from overmixing the batter later.
3. Add the Wet Ingredients — 3 Minutes
Add the egg, milk, vegetable oil, and vanilla extract to the dry ingredients.
Whisk gently until you get a smooth batter.
The mixture should look fairly thin at this stage. Don’t worry if it seems looser than a typical cake batter. The hot water will make it even thinner, and that’s exactly what you want.
4. Add the Hot Water — 1 Minute
Slowly pour in the hot water while whisking.
The batter will become quite fluid. That’s normal.
I discovered this the first time I made the recipe and immediately wondered whether I had done something wrong. I hadn’t. Once baked, that loose batter creates a wonderfully soft chocolate texture.
5. Bake the Chocolate Base — 25 to 30 Minutes
Pour the batter into your prepared pan and gently tap the pan on the counter once or twice to release large air bubbles.
Bake for 25 to 30 minutes.
Start checking around the 25-minute mark. Insert a toothpick into the center. You want a few moist crumbs attached to it, but you don’t want the toothpick covered in wet batter.
Don’t wait for the top to look completely dry. Overbaking can turn a lovely soft chocolate dessert into something much firmer than intended.
Let the baked base cool in the pan for about 15 minutes.
6. Make the Chocolate Topping — 5 Minutes
While the base cools, prepare the topping.
Place the chopped chocolate in a heatproof bowl.
Warm the heavy cream in a small saucepan over medium-low heat until it becomes hot and begins steaming. Don’t let it boil aggressively.
Pour the warm cream over the chocolate and leave it alone for about 2 minutes.
Then add the butter and stir slowly from the center outward until the chocolate melts into a glossy, smooth mixture.
If you want a slightly sweeter topping, stir in the powdered sugar.
If a few chocolate pieces refuse to melt, place the bowl over a saucepan containing a small amount of gently simmering water. Stir carefully until everything becomes smooth.
7. Finish and Chill — 30 Minutes or Longer
Once the chocolate base feels warm rather than hot, spread the chocolate topping over the surface.
Use the back of a spoon or a small offset spatula to smooth it out.
Now comes the hardest part: waiting.
Refrigerate the dessert for at least 30 minutes so the topping can firm up. For the neatest slices, chill it for about 1 to 2 hours.
Before serving, add your chosen toppings.
I especially like a few fresh raspberries because their tartness cuts through the richness of the chocolate without making the dessert complicated.
8. Slice and Serve
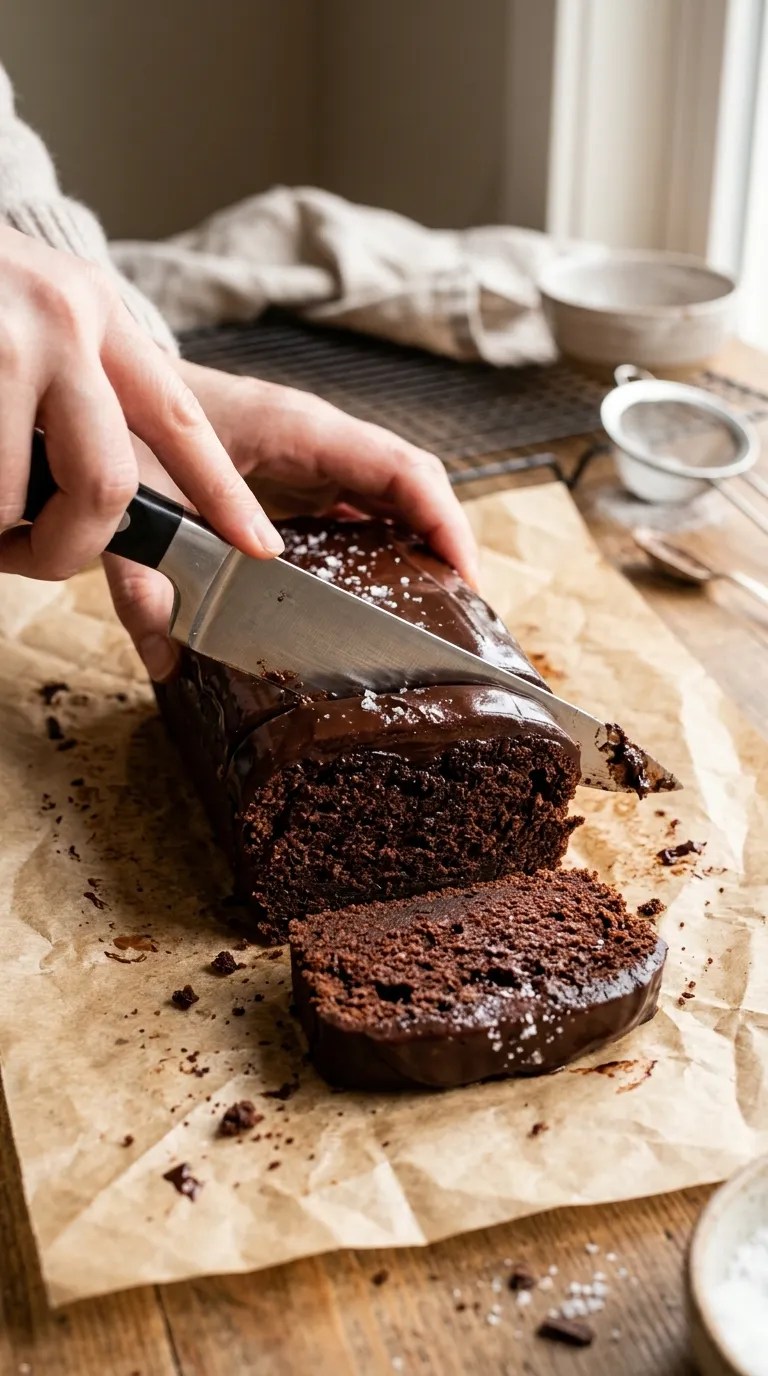
Lift the chilled dessert from the pan using the parchment paper.
For cleaner slices, run a sharp knife under hot water, wipe it dry, and then cut. Repeat between slices.
You don’t need perfect bakery-style squares. In my kitchen, slightly imperfect slices usually disappear just as quickly.
Pro Tips & Tricks
Don’t Overmix the Batter
Once you add the wet ingredients, whisk only until everything comes together.
Overmixing can make the finished dessert less tender. A few small lumps disappear during baking, so don’t chase absolute perfection.
Use Good Chocolate
The topping contains only a few ingredients, so the chocolate matters.
You don’t need the most expensive chocolate in the store. Choose a semi-sweet or dark chocolate with a flavor you like. If you prefer sweeter desserts, semi-sweet chocolate usually works beautifully.
Let the Base Cool Before Adding the Topping
If you spread the chocolate topping over a piping-hot base, it can become overly soft and slide around.
Let the base cool until it feels warm or room temperature before adding the topping.
Don’t Overbake It
This might be the most important tip.
Chocolate desserts can fool you because the dark surface makes it difficult to judge doneness. Start checking early, and look for moist crumbs rather than waiting for a completely clean toothpick.
Make It Ahead
You can bake the chocolate base a day ahead and keep it covered at room temperature.
You can also assemble the entire dessert and refrigerate it overnight. Take it out about 10 to 15 minutes before serving so the topping softens slightly.
Store Leftovers Properly
Keep leftovers in an airtight container in the refrigerator for up to 4 days.
The topping firms up when cold, so let each serving sit at room temperature for a few minutes before eating.
Variations & Substitutions
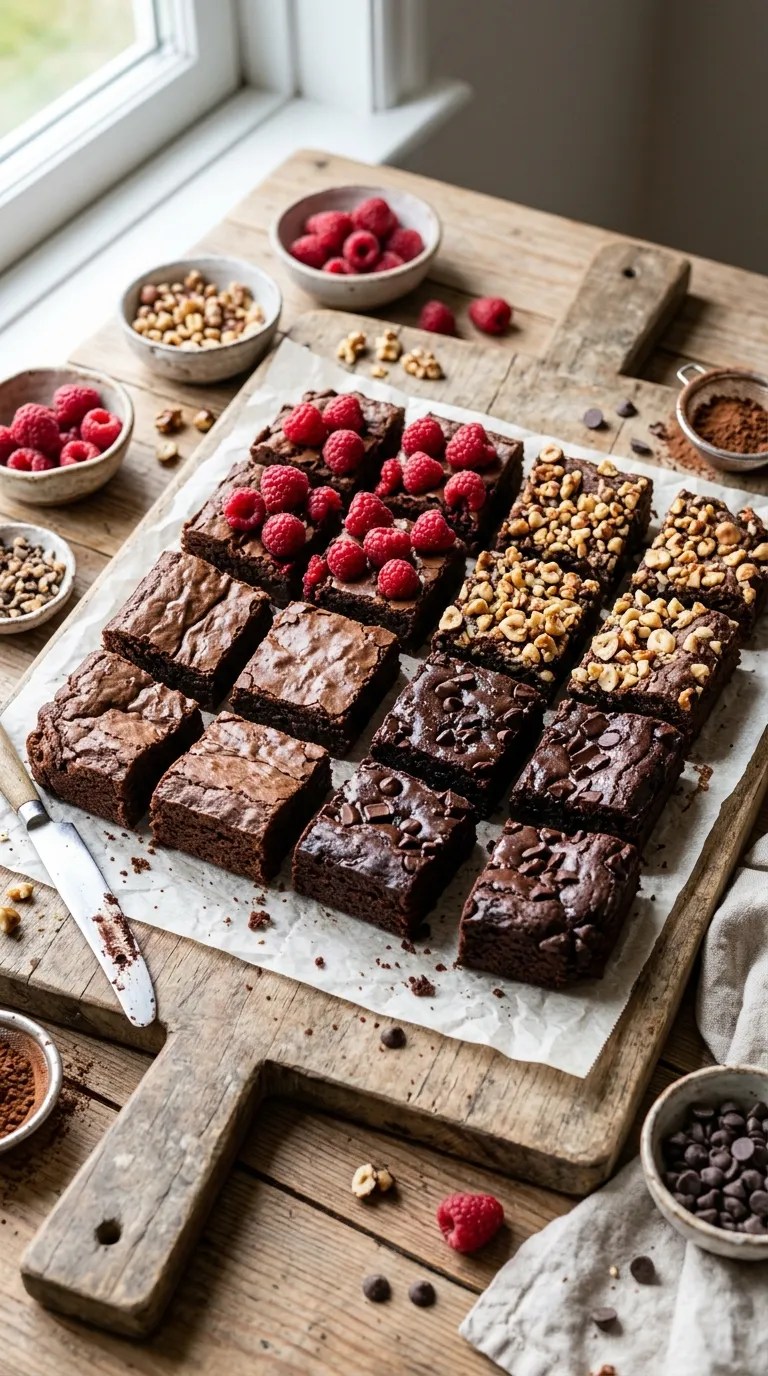
Make It Extra Chocolatey
If you are serving serious chocolate lovers, stir 1/2 cup (85 g) chocolate chips into the batter before baking.
You can also add a handful of chocolate shavings over the finished topping.
I wouldn’t do both if you’re serving a very rich meal beforehand. The original version already delivers plenty of chocolate flavor.
Add Coffee for Deeper Flavor
Coffee and chocolate make a wonderful pairing.
Replace the hot water with hot brewed coffee. You won’t end up with a coffee-flavored dessert; instead, the coffee can make the chocolate taste deeper and more pronounced.
This trick has become one of my favorite small changes.
Turn It Into a Berry Chocolate Dessert
Spread a thin layer of raspberry or strawberry jam over the cooled chocolate base before adding the chocolate topping.
Finish with fresh berries.
The combination gives you a nice contrast between rich chocolate and bright fruit.
Easy Gluten-Free Option
For a gluten-free version, replace the all-purpose flour with a 1-to-1 gluten-free baking flour blend designed to replace wheat flour in cakes.
Check the package for its intended substitution ratio, since different blends contain different combinations of starches and binders.
Dairy-Free Option
Use a dairy-free milk in the base and choose dairy-free chocolate for the topping.
Replace the heavy cream with a suitable dairy-free whipping cream or full-fat coconut cream. Keep in mind that coconut cream can add a subtle coconut flavor.
Serving Suggestions

This dessert works beautifully when you need something flexible.
For a casual family dinner, serve each piece with a spoonful of whipped cream and a few berries.
For a birthday or celebration, add chocolate curls and a small scoop of vanilla ice cream. You can also arrange the pieces on a large serving platter instead of serving them individually.
For a holiday table, sprinkle the top with chopped toasted hazelnuts or pecans.
If you’re making dessert for a potluck, keep the whole dessert chilled until you’re ready to leave. Transport it in the baking pan or a sturdy container so the chocolate topping stays intact.
For a simple afternoon treat, you honestly don’t need anything else. A square of chocolate dessert and a cup of milk or a warm cup of tea makes a pretty satisfying little break.
If you’re serving it after a heavy dinner, cut smaller pieces. The dessert has a rich chocolate flavor, so a modest portion can go a long way.
Related Recipes:
- Easy Pear Dessert for a Sweet Fall Treat
- Dirt and Worms Desserts for Halloween Parties
- Fancy Desserts That Look Impressive but Are Easy to Make
- Easy Dessert Recipes Anyone Can Make
FAQ’s
Can I make this chocolate dessert the day before?
Absolutely.
In fact, I often prefer making it the day before. Cover the finished dessert and refrigerate it overnight. The flavors settle, and the topping becomes nicely firm.
Let it sit at room temperature for around 10 to 15 minutes before serving.
How should I store leftover chocolate dessert?
Place the leftovers in an airtight container and refrigerate them for up to 4 days.
Keep the dessert covered so it doesn’t absorb refrigerator odors or develop a dry surface.
Can I freeze this dessert?
Yes, but the texture may change slightly after thawing, particularly in the topping.
For best results, cut the dessert into individual portions, wrap them well, and freeze them in an airtight freezer-safe container.
Thaw the portions in the refrigerator overnight, then let them sit at room temperature briefly before serving.
For the freshest texture, I prefer making it a day or two ahead rather than freezing it.
Why did my chocolate topping turn grainy?
The chocolate may have overheated, or the cream and chocolate may not have combined smoothly.
Next time, keep the cream just below a boil and let it sit over the chopped chocolate for a couple of minutes before stirring.
Stir gently rather than beating the mixture aggressively.
Can I use milk chocolate instead of semi-sweet chocolate?
Yes.
Milk chocolate will give you a sweeter, softer-tasting topping. If you use milk chocolate, you may want to leave out the powdered sugar.
If you like a darker chocolate flavor, stick with semi-sweet or dark chocolate.
Can I prepare the base without making the topping immediately?
Yes.
Bake the base, cool it completely, cover it well, and keep it at room temperature for up to a day.
Make the chocolate topping when you’re ready to finish the dessert. This works especially well when you’re preparing several dishes for a gathering.
Final Thought
Some recipes earn a permanent place in my kitchen because they’re impressive. Others stay because they’re easy.
This one manages to do both.
I love that I can make the base without dragging out a mixer, prepare the topping in just a few minutes, and turn the whole thing into something that feels special with little more than fresh berries or chocolate shavings.
And don’t worry if your first batch doesn’t look perfectly polished. Mine certainly didn’t. One time I spread the topping before the base had cooled enough, and the chocolate slowly wandered toward the edges. It still tasted fantastic.
That’s the beauty of an easy chocolate dessert. It doesn’t need a perfect kitchen or a special occasion.
Make it for a birthday, take it to a family gathering, serve it after dinner, or keep a few pieces in the refrigerator for when a chocolate craving shows up.
Once you make it a couple of times, you’ll probably start putting your own spin on it. And honestly, that’s when a recipe becomes yours.
Leave a Reply
You must be logged in to post a comment.